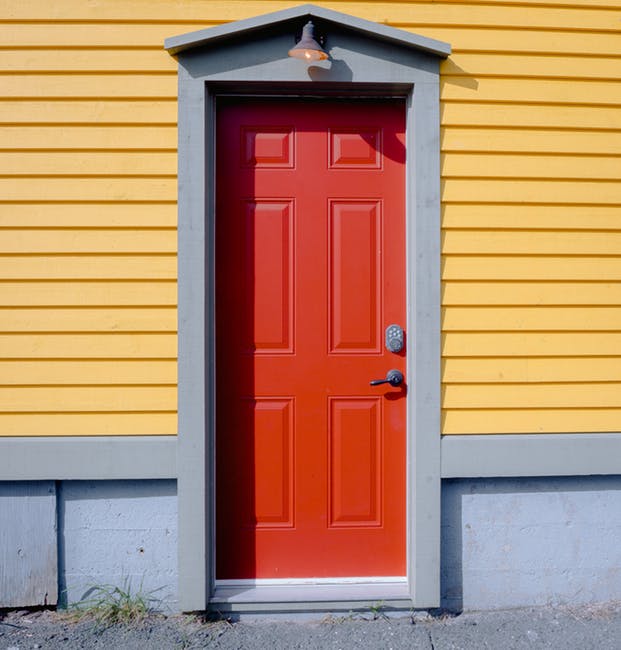
Are you planning to give your home a fresh new look with a new exterior door?
A new door doesn’t just look better, it improves energy-efficiency and enhances the security of your home. However, replacing an exterior door isn’t as easy as popping it off and popping another one on.
Replacing a door takes time, patience, and attention to detail. With a few directions and some guidance, you can learn how to replace an exterior door, even if you’re not the handiest of people.
As you shop for exterior doors, you will find slab doors, which are just the door, and doors pre-hung on a frame. The one you choose depends on whether you need to replace the door frame.
Here’s a quick DIY guide on how you can replace an exterior door.
With any home improvement project, you’re going to need some tools and materials. When you’re first learning how to replace an exterior door, you may need to shop or borrow some of these tools. To replace your just the door, you will need:
For those who are planning to replace the frame as well, you will need:
Measure your door or doorway. Replacing the door slab requires you to measure the current door, hinge placements, and hinge size. Don’t round your numbers to the nearest inch.
Replacing the door and frame means you’ll need to measure the rough opening. Measure from the framing members and the bottom of the sill and top of the frame. For the most accurate measurement, you may need to remove the door and frame first, then measure the opening.
Round up to the nearest whole inch when measuring the opening.
Once you have your tools and materials, you’re ready to replace your door. It’s worth noting that this is a day-long project.
Using your hammer and chisel, pry out the door hinges. Do this by sliding the chisel beneath the hinge pin-head and tapping the bottom of the chisel with the hammer. Start with the top and bottom hinges.
Once removed, lift the door off the hinges. You may need an extra person to help as the door will be heavy and might swing around.
If you’re replacing only the door and reusing the frame/trim, you can remove the hinges and other hardware. Measure, mark, and reinstall the new hardware. Use 3-inch screws and a drill or screwdriver to install the new hardware.
Lift and place the door, then add the hinge pins. Make sure everything is plumb and working.
With the door off of the frame, take the utility knife and carefully slice through the interior trim caulking. After you slice the caulk, use a pry bar and putty knife to pry the trim off the frame. Repeat the process on the exterior trim.
Be careful not to damage the trim or frame if you plan to reuse it.
Use a handsaw to cut 1 side of the door jamb. This is one of the fastest ways to remove it, but be careful not to cut the wall. Use pry bars and your hands to pull the rest of it off.
Remove and replace any rotting wood in the sill area. If the sill with the new door is thinner than the previous one, you will need to build up the sill area. Add a drip cap or door flashing kit to protect and channel water away from the wood elements before adding the sill.
Use a level and shims to ensure the sill is level. Then attach the sill with an adhesive caulk.
The right sill height should be just above the carpet or rug to allow the door to swing inwards without scraping or rubbing against the floor.
With the sill in place, you can test fit your door and frame by lifting and sliding it into place. If the fit is too tight, use a sander to trim the casing on the frame, or carefully cut the siding of the building.
With the sill in place and knowing your door frame fits, it’s time to set in place. Begin by applying caulk along the sides and top of the opening. Follow the manufacturer’s instructions.
Lift the prehung door and place it in the opening. Make sure it’s level and centered with the sill. Tack the door in place with galvanized nails while making sure the hinge-side jamb is plumb.
Add shims along the hinge-side jamb between the wall and the jamb, behind each hinge. You can start with small pieces of plywood and then shims. Regularly check to make sure the jamb is still plumb.
Next, move to the latch-side and repeat the shimming process placing shims behind the latch area. You can score the shims with a knife to cut them to size.
With the frame in place, use the drill to screw in 3-inch screws into the hinges. Add screws around the top and sides inside of the exterior of the trim every 16 inches. This will prevent sagging or warping.
From inside your home, insulate the space between the doorjamb and framing with foam insulation. When dried add strips of fiberglass insulation. Once insulated, you can add the old or new interior trim.
On the outside, add a strip of caulk in the gap between the siding and the door trim. With that, you now know how to replace an exterior door.
Next, you can remove the door and stain or paint it to match the exterior of your house. With the door removed, you can paint or stain the trim to match.
Before you know how to replace an exterior door, the idea can seem daunting. With instructions, the right tools, and some determination, you can install your door.
Have questions or would like professional help? Give us a call, and we’ll help with any of your renovation projects.