If you want to change the feel of your house, switching the inside doors is a great way to do it! Here’s a simple guide on how to replace an interior door.
The largest door in the world is over 460 feet high. Where is it? At the NASA Vehicle Assembly Building in Florida.
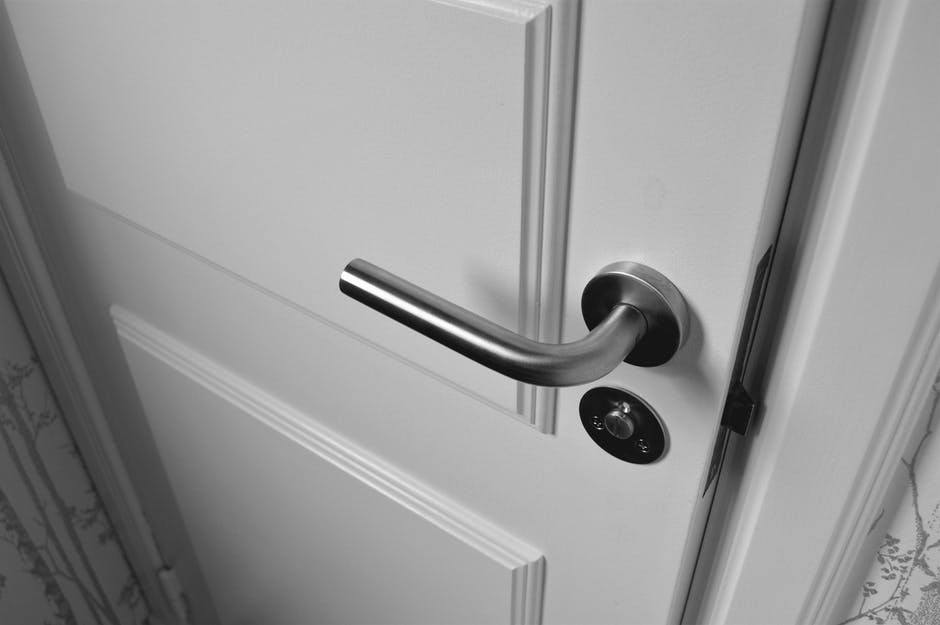
Compared to that, normal doors are tiny. Assuming that they’re standard size, they’re approximately 80 inches tall. Sure, there are other heights but they’re not as common.
Thinking of changing one of the interior doors in your house? It’s not as hard as you might think! In fact, you can probably get it done within a day.
Not sure how to go about doing it? Then you’re on the right page. We’ll be going over how to replace an interior door below.
Keep reading to learn more!
Replacing an interior door is simple as long as you have the right tools. Some of the items that you’ll need include a screwdriver, measuring tape, drill, hammer, circular saw, utility knife, wood chisel, combination square, and a few other things.
Missing a few tools? You can find them at your local home improvement store.
Replacing worn-out or damaged doors can improve the look of your home. Follow the instructions below and you’ll be able to do so easily.
The first thing that you want to do is to check the measurements of your old door. The last thing that you want to do is to get something that won’t fit properly!
Make note of the height and width and bring that information with you to the home improvement store. That’ll allow you to get something that’s the same size.
Once you’ve got your new door, take off the old one. To do that, remove the pins—they’re the things that keep the hinges in place.
You can do that easily with a hammer and screwdriver. Make sure to do it from the bottom up, otherwise, you risk having the door fall on you.
If the pins are tight, tap them free with the hammer. Consider placing the pins in the jamb hinge—that way, you won’t have to worry about losing them.
Unscrew the hinges and lockset. Take note of their position if you plan on reusing them for your new door.
Lay the new door on the floor and place the old one on top of it. Align the edges so that they’re flush.
Trace around the old door using a pencil. That will let you know where you have to trim to properly fit the new door.
Trimming will be necessary if your new door doesn’t align perfectly with the old one.
Start by scoring the pencil marks that you made earlier with a utility knife. That will prevent it from splintering when you’re cutting.
Once you’ve done that, you’re ready to trim the door. For the best results, use a straight edge with a circular saw (unless you’re trimming just a tiny bit then you can use a hand plane).
Assuming that you’re working with a blank door, you’ll have to cut out the hinge slots. The easiest way to do this is to align the old door with the new one.
Make sure that all of the sides are flush and mark the hinge locations with a combination square. From there, make the marks with a utility knife.
Pay extra attention to the gap between the outer part of the door and the hinge.
Place your chisel perpendicular to the markings on the door and hammer out the outline for the hinge. It’s important that you don’t go too deep, otherwise, the gap against the frame can become too big.
Next, cut a few grooves inside the hinge. That’ll make it easier to remove later.
Once you’ve done that, remove the unwanted material. You can do this by hammering the chisel at a low angle. Don’t rush; work slowly.
Check that the mortise is at a proper depth using the hinge. Screw them in place once you’ve confirmed that the depth is correct.
Basically, all you have to do is drive a few screws through the holes towards the door. Check that they’re tight after installing. You don’t want them to be loose, otherwise, the constant movement will enlarge the screw holes.
Test the new door. Not only should the hinges line up, but the lockset should line up with the latch as well. If necessary, adjust the positions using shims.
From there, you can paint or stain the door. Wait for the paint to fully dry before installing the lockset.
The final step is to hang your new door. You can do this by yourself but it’ll be much easier if you have a helper.
Make sure that the hinges are in proper position and put in the pins. Test the door afterward and adjust wherever necessary.
And there we have it—a short guide on how to replace an interior door. As you can see, it’s pretty straightforward. If anything, you just need the proper tools!
Need some professional help with your doors? We can help! Feel free to contact us for a free estimate!